Step by step tutorial
Looking to add bohemian flair to your indoor garden? Macrame plant hangers are a stylish and easy way to elevate your plant displays. They're perfect for maximizing space and adding a natural, handcrafted element. This tutorial guides you through creating your own macrame plant hanger, even if you're a beginner!


Materials You'll Need:
- * Macrame cord (3mm or 4mm)
- * A wooden or metal ring
- * Scissors
- * Measuring tape
- * A pot
1. Cut the Cord
Cut your macrame cord. For a medium-sized hanger, cut 8 pieces, each about 8 feet long.

2. Attach to the Ring
Fold each cord in half. Thread the folded loop through the ring and pull the ends through the loop (larks head knot). Repeat.

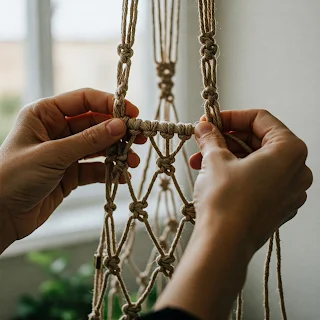
3. Create the First Knots
Divide the strands into pairs. About 3-4 inches below the ring, tie a square knot with each pair. (Include a picture/video showing a square knot.)

4. Create the Net
Take one strand from each adjacent pair and tie a square knot about 3-4 inches below the first knots. Continue.

5. Gather the Bottom
Once you've created enough knots, gather all the strands at the bottom. Tie a large gathering knot.

6. Trim the Ends
Trim the excess cord. You can also add beads.

7. Add Your Pot
Carefully place your pot into the hanger.

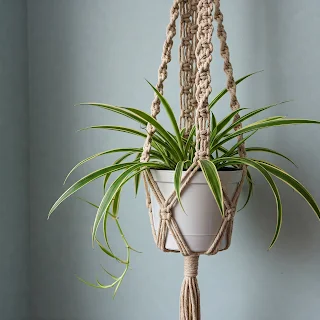
8. Hang and Enjoy
Hang your beautiful new macrame plant hanger!

Tips and Variations:
- * Experiment with colors and thicknesses.
- * Add wooden beads.
- * Try different knot patterns.
Creating your own macrame plant hanger is fun and rewarding. Share your creations below!